
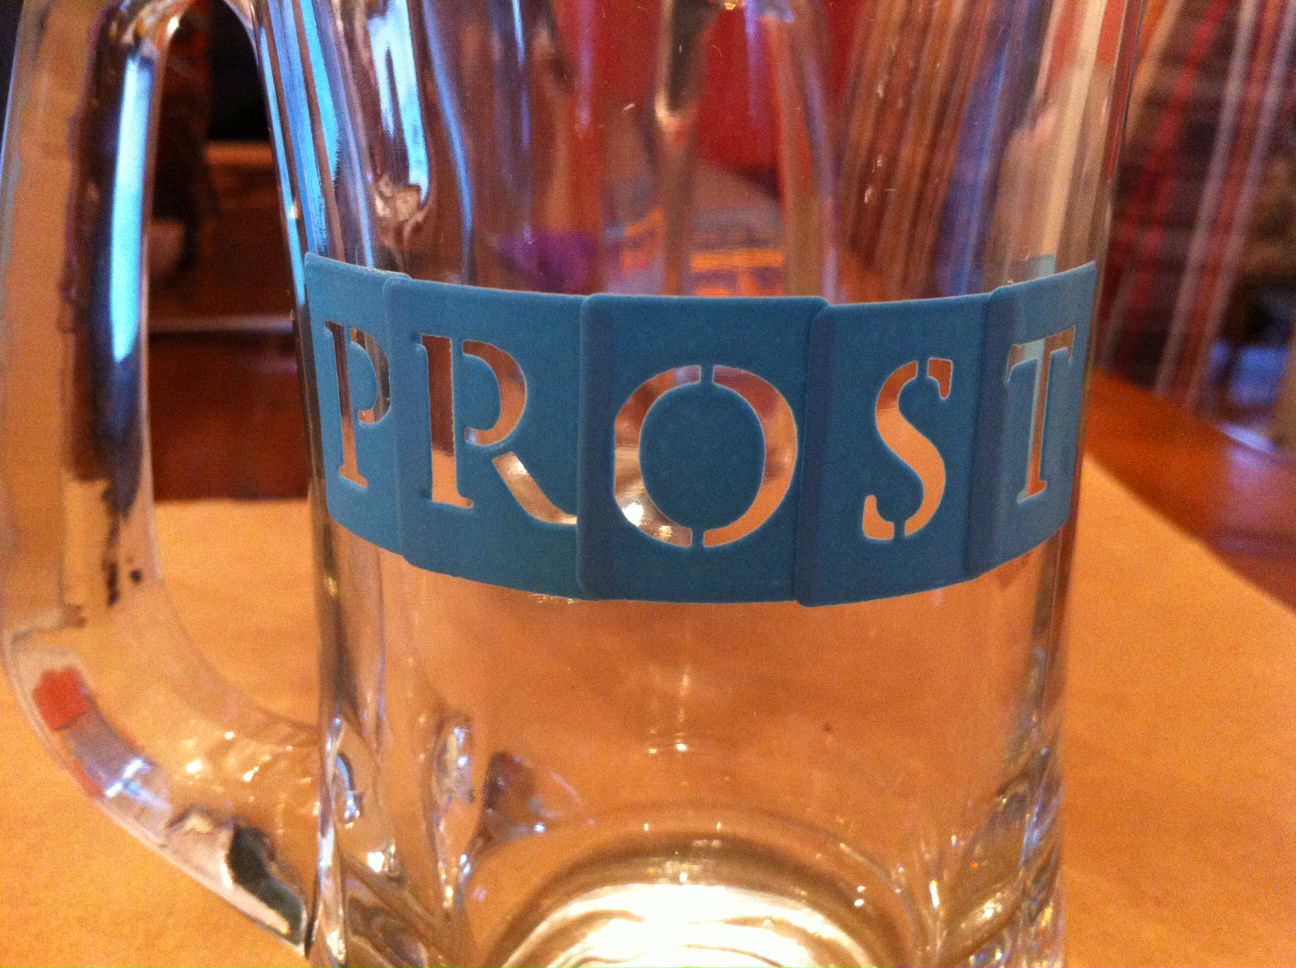
When I was thinking about what I wanted to get friends and family for Christmas, I knew I wanted to try to do some crafting for at least one person and Ry’s dad and stepmom became the lucky winners J They have spoken about taking a trip to Germany in the future, so I thought it would be fun to make them some “custom” beer steins to go with their Germany travel guide....
Enter: glass etching! A super easy way to add a little something extra to your ordinary glassware! Now I will admit that I kind of cheated by buying pre-made stencils, but I know that making your own is another great addition to this project and can be done easily an adhesive paper. Whether you make your own stencil or use one from the store, the process wasn’t complicated and I really liked the results (so did Ry’s parents!)

Supplies:
-glassware (cup, mason jar, vase, etc.)
-stencil or adhesive paper to make a stencil
-Brush
-newspaper/paper bag to cover your work space

Directions:
- Determine your design-if you bought stencils, choose the letters you need or decide which image you want to use for the etching (remember it’s permanent so choose wisely!)
- Stick your stencil onto the glass where you want the design to be and make sure it is pressed down firmly so none of the etching cream leaks under
- Apply generous amount of the etching cream to your stencil, so that all the empty space is covered. Be careful that you don’t put too much, because you don’t want it to run!
- Let the etching cream sit…note: the instructions on Armour Etch said it only needed about 1 minute, but after reading other tutorials, I gave it a full 10 minutes.
- Wash etching cream off…remove stencil and dry off.
Viola! You are left with a fun design and glassware that has just a little extra personality J

No comments:
Post a Comment